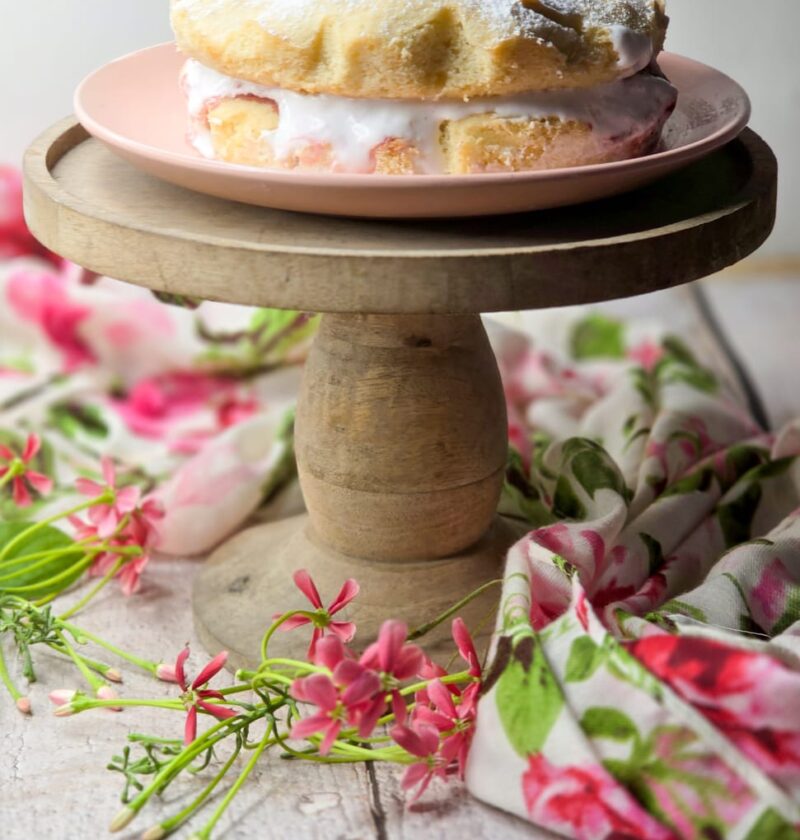

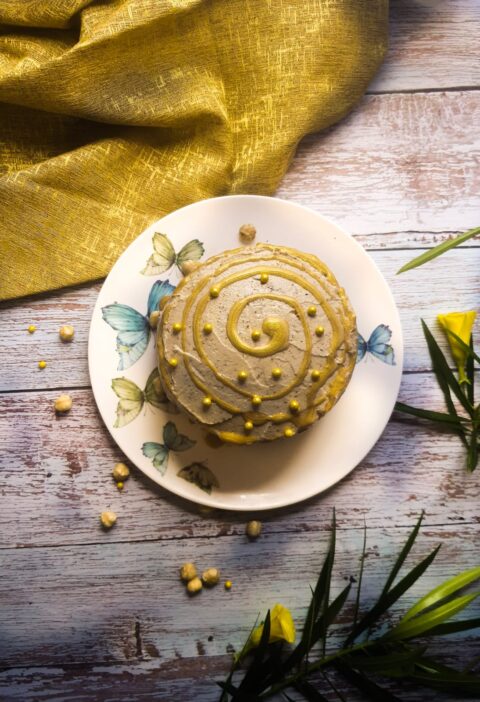
The Victoria sponge cake is a timeless British classic, celebrated for its light, fluffy texture and simple yet elegant layers of jam and cream. It not only pleases the ones with a sweet tooth but also carries a slice of history with every bite.
The origins of this iconic cake are closely tied to Queen Victoria, who famously enjoyed a slice with her afternoon tea. But it was Anna, the Duchess of Bedford, one of Queen Victoria’s ladies-in-waiting, who popularized the concept of afternoon tea in the early 1840s. Finding herself hungry between lunch and dinner, Anna began requesting light refreshments in the afternoon, which soon became a fashionable social event among the upper class — and the Victoria sponge was often the centerpiece.
With the invention of baking powder during the Victorian era, cakes like this one became lighter and more accessible, replacing heavier, yeast-based confections. The Victoria sponge quickly became a favorite and earned its royal name in honor of the Queen’s fondness for it.
Today, this cake remains a staple of British baking — simple, elegant, and perfect for sharing. Whether served at teatime or as a celebration treat, the Victoria sponge is a sweet nod to the rituals and tastes of a bygone era.
Tips for Making the Perfect Victoria Sponge Cake
To achieve that beautifully light and tender crumb with a smooth, delicious finish, here are some essential tips to keep in mind:
- Bring all ingredients to room temperature
Cold ingredients don’t mix well and can cause the batter to split. Let your butter, eggs, and milk sit at room temperature for at least 30 minutes before baking. - Cream the butter and sugar until light and fluffy
Beat the butter and sugar together for several minutes until the mixture becomes pale and airy — this step traps air and gives the sponge its light texture. - Add eggs gradually
Add the eggs (or egg mixture) a teaspoon at a time, beating well after each addition. This helps keep the batter smooth and prevents curdling. - Sift the flour
Sifting helps to aerate the flour and remove any lumps. It also ensures even distribution of the raising agent if you’re using self-raising flour. - Fold in flour gently
Use a spatula or metal spoon to fold the flour into the mixture with a light hand. Overmixing can knock out the air and result in a dense cake. - Preheat your oven
Always ensure your oven is fully preheated to the correct temperature before baking. An underheated oven can cause uneven rising. - Avoid opening the oven door too early
Wait at least 20 minutes before checking your cake. Opening the door too soon can cause it to sink in the middle. - Cool completely before filling
Let the sponge layers cool fully on a wire rack. Filling the cake while warm can melt the jam and cream, leading to a soggy result. - Use good-quality jam and cream
Choose a flavourful, high-quality strawberry or raspberry jam, and pair it with either fresh whipped cream or classic buttercream for the most authentic result. - Don’t overwhip the cream
When using fresh whipped cream for the filling, stop whipping as soon as it forms soft peaks. Overwhipping can cause the cream to split and turn grainy or buttery.
Ingredients
Instructions
- Method
- Preheat the oven to 180°C (350°F). Grease and line two 6-inch or 7-inch round cake tins.
- Prepare the batter:
- In a large mixing bowl, beat the butter and sugar together until pale and fluffy (about 2–3 minutes). Add the eggs one teaspoon at time, beating well after each addition. Stir in the vanilla essence.
- Sift the flour and baking powder together. Gently fold the flour mixture into the wet mixture using a spatula until just combined — don’t overmix.
- Bake:
- Divide the batter evenly between the two prepared tins. Smooth the tops. Bake in the preheated oven for 20–25 minutes, or until a skewer inserted into the center comes out clean.
- Cool:
- Allow the cakes to cool in the tins for 5 minutes, then turn out onto a wire rack and let them cool completely.
- Prepare the filling:
- Whip the cream until soft peaks form. Be careful not to overwhip.
- Assemble:
- Spread the strawberry jam over one sponge. Top with the whipped cream. Place the second sponge on top. Optional: Dust with a little icing sugar for a classic finish.
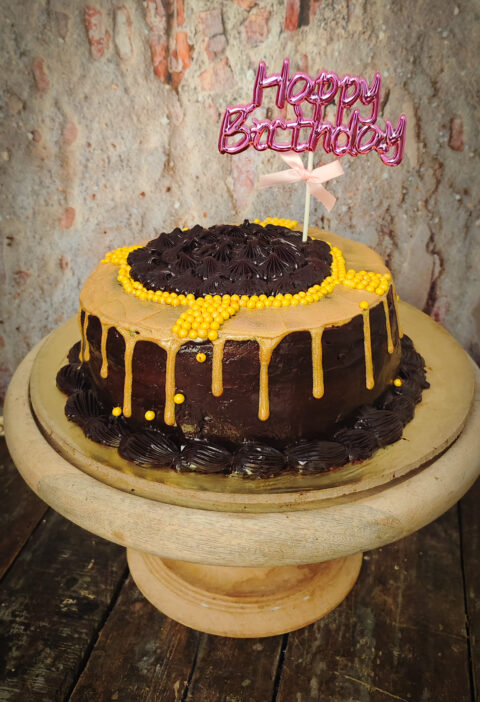
Once you have tried this recipe, try my other cake recipes too.
Eggless Parle-G Chocolate Layer Cake.
Hope you enjoy baking.
Love
Narsis
