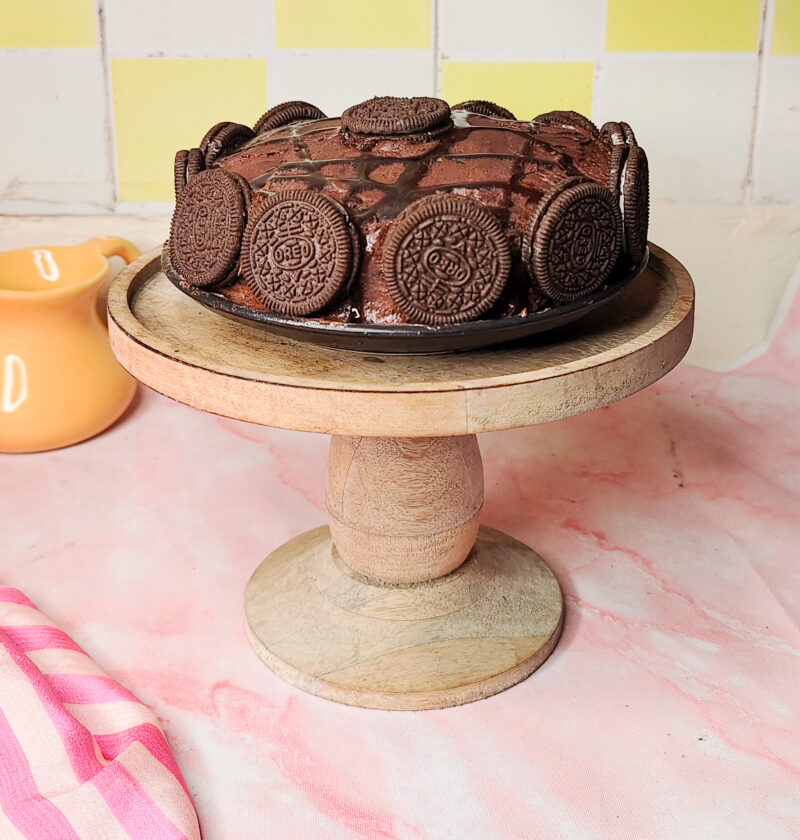
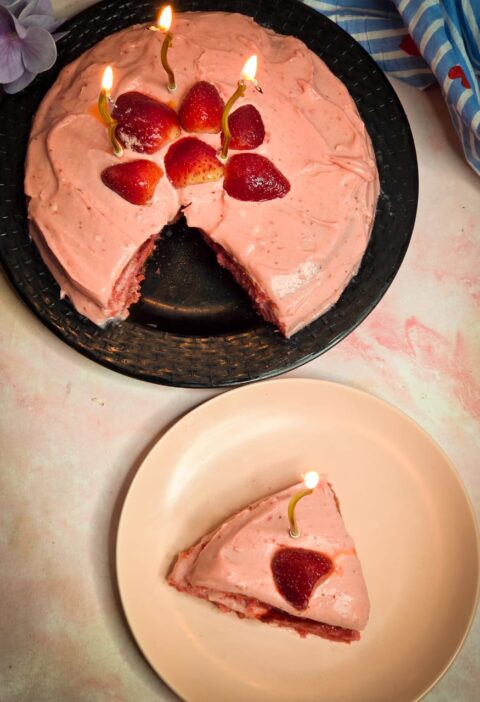
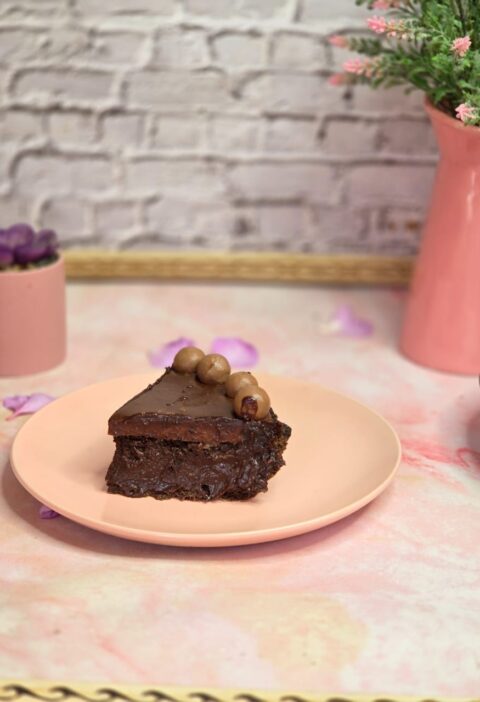
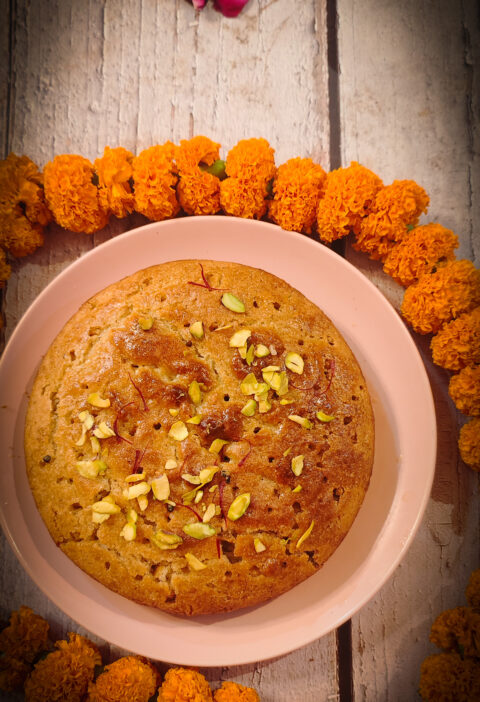
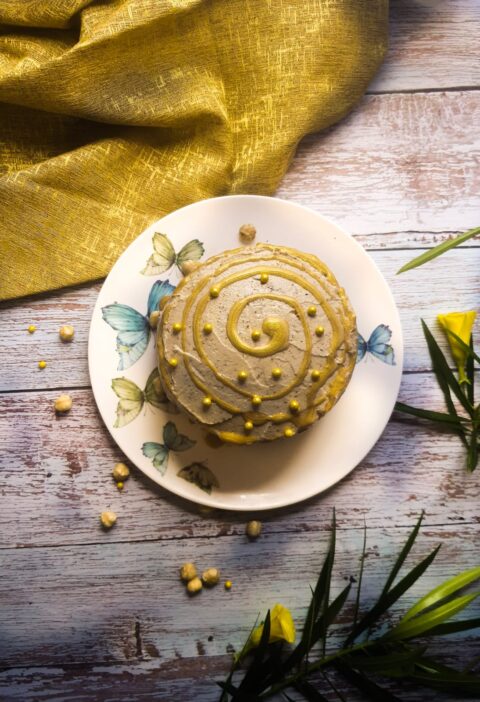
Oreo cookie is my favorite cookie however I love them so much I can nibble on them all day long. But that is not possible, so I made an Oreo cookie Cake with its delicious crumb, eggless, no all-purpose flour (Maida), and no oven. This cake is splendid and when you bite into it you won’t even believe that it’s eggless, has no Maida and no oven is needed to bake it. It’s a simple and delicious no-bake cake that’s perfect for those who want to whip up a treat without having to use an oven.
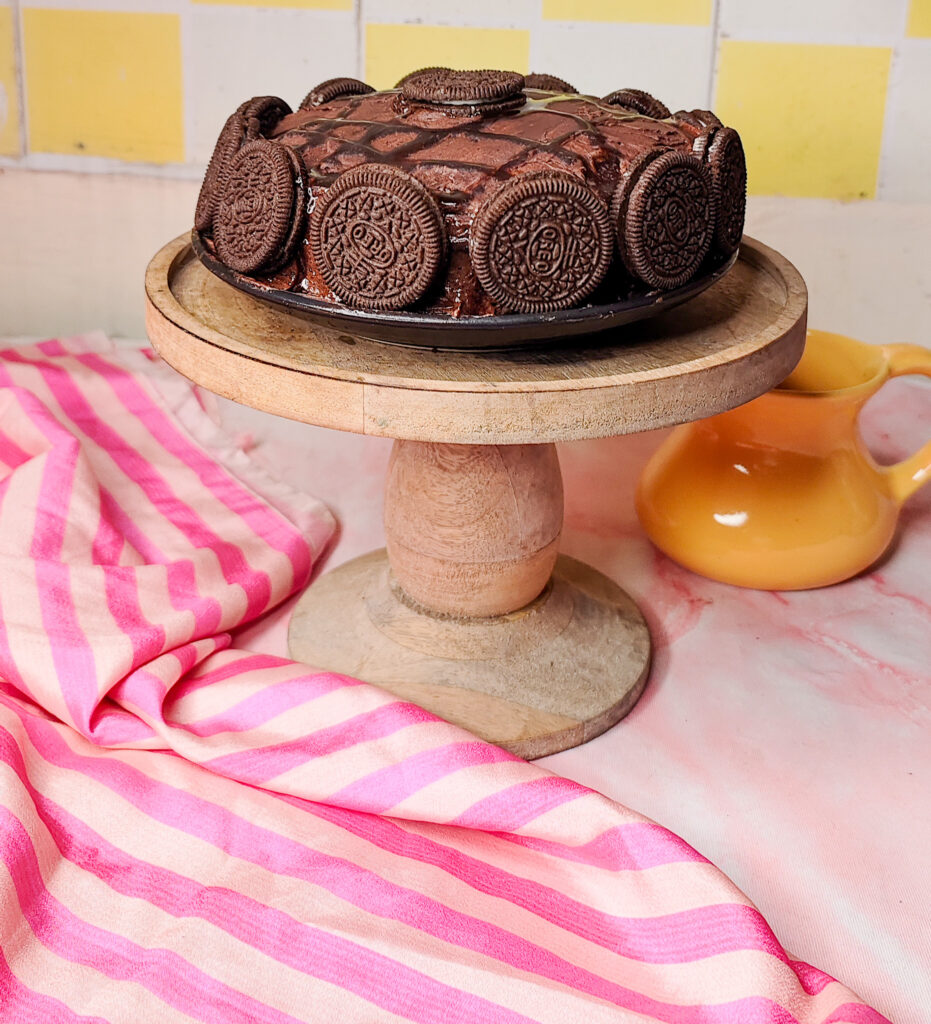
What is Oreo Biscuit Cake?
Oreo cookie Cake is a delicious cake. An Oreo cookie cake is very popular and a simple no-bake dessert that features Oreo cookies as its star ingredient. The basic concept of an Oreo cookie cake involves mixing crushed Oreo cookies with a creamy mixture, often made from milk, to create a cake-like dessert. The crushed cookies act as a dry ingredient which is then added to the wet ingredient like milk, the consistency of this batter is cake-like, and baking powder acts as the rising agent which helps this cake to be soft and moist when it’s baked.
It’s a type of cake that doesn’t require baking in an oven, making it super quick and easy to prepare. This cake has gained popularity due to its easy and quick recipe, also it requires very less ingredients all easily available at home.
INGREDIENTS
DRY INGREDIENTS
Oreo Cookies: You need Oreo cookies to make the dry mixture. No all-purpose flour is needed to make this cake, as mentioned Oreo cookies are the star ingredient, and they are crushed in the food processor till they are fine crumbs.
Caster Sugar: This cake needs a little caster sugar as even though the crumbs are sweet, they are not sweet enough.
Baking Powder: is added to help the cake rise and be soft and moist.
Milk Powder: is added to make it more flavorful and have a rich texture and flavor.
WET INGREDIENTS
Hot Milk: to bring the cake together we need hot milk. It works as the binding agent as well as it gives a rich flavor to the cake.
Coco Powder: is an important ingredient as it makes the chocolate flavor of the cake even more prominent. This extra bit of coco just amps up the chocolate flavor of the cake.
Coffee Powder (Instant): compliments the chocolate flavor of the cake.
Melted Butter: makes the cake rich and delicious.
Vanilla: to enhance the flavor of the cake.
Why should you bake an Oreo Cookie Cake?
No-Bake Convenience: One of the main reasons people choose to bake an Oreo cookie cake is that it’s a no-bake dessert. This means that it’s best for those who need to make something without an oven and don’t have access to baking equipment. It’s convenient and easy to make this cake and the best it’s a no-bake dessert.
Low-Cost Cake: This cake is easy as well as the ingredients don’t cost much, which means you can make this cake very cheap as it requires no special ingredients. The cost of the ingredients in this cake is very pocket friendly and when you need a cake under a budget you know this cake recipe is a keeper.
Easy and Quick: This cake is easy and quick as compared to traditional baked cakes. It requires very little preparation and assembly, making it a great option when you are short of time but want to make an extraordinary dessert.
Perfect for Beginners: If you’re new to baking or lack baking skills, an Oreo cookie cake is a beginner-friendly option. It doesn’t require you to have prior knowledge about temperature control the consistency of the batter or when and how the ingredients have to be mixed. This cake is a cake perfect for beginners.
Minimal Ingredients: The ingredients required for an Oreo biscuit cake are simple and readily available. You mainly need Oreo cookies, milk, butter, coffee, and a few additional ingredients which are easy to find at most grocery stores.
Kid-Friendly Activity: Baking an Oreo biscuit cake can be a fun activity to do with kids. They can help crush the cookies, mix the ingredients, and help bake the cake making it a good activity to do together.
Crowd-Pleaser: this cake is excellent for potluck, parties, and celebrations as it’s an easy, low-cost, and delicious cake to make. It’s a crowd-pleaser as it is loved by adults and children alike.
How to bake a cake over the stovetop?
Baking a cake over a stovetop, commonly known as “stove-top baking” or “stove-top cooking,” involves using a special pot or pan with a tight-fitting lid to simulate the baking process of an oven. The special pot or pan ideally should have a heavy bottom that can distribute the heat evenly and shouldn’t get too hot during the baking /cooking process. This method is often used when an oven is not available or as an alternative cooking technique.
I used a layer of salt (table salt) and then placed the trivet on it and on top of the trivet I placed the pan with the cake batter in it. Cover it tightly with the tight-fitting lid and cook on medium flame. Don’t open the pan at least for 25 to 30 minutes but please keep a watch on the cake as sometimes the cake starts cooking faster from the sides if this happens lower the flame slightly.
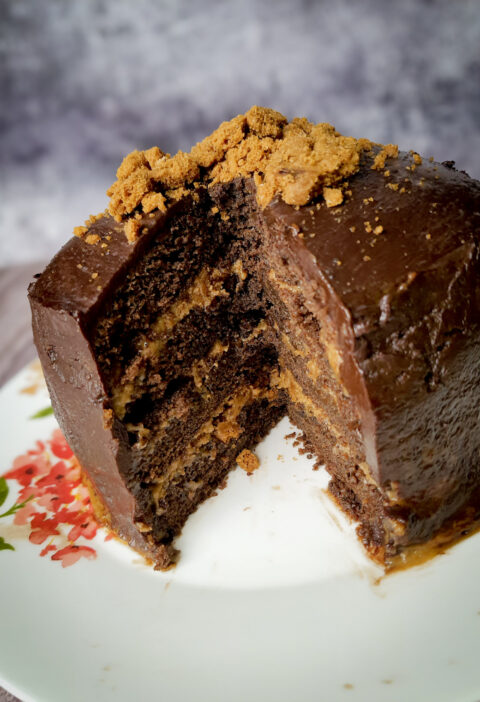
For another delicious eggless cake that transforms beloved cookies into a decadent dessert, check out my recipe for an Eggless Parle-G Chocolate Layer Cake.
TIPS AND TRICKS TO REMEMBER
- Use a pot or pan with a tight-fitting lid. Also, it’s convenient if the lid is transparent so you can see what’s happening on the inside.
- Make sure the pot or pan used is heavy-bottomed as it would ensure even baking and the cake would be burn-free.
- Make sure the pot or pan is big enough for the trivet as well as the cake pan to fit in comfortably and the lid should be tight in place.
- A layer of table salt is a good idea, sprinkle it on the pot or pan in an even layer and then place the trivet in the middle.
- Always a good idea to preheat the pot or pan with the salt for at least 15 minutes before you place your cake pan on the trivet.
- The salt is used to spread the heat evenly in the pan don’t throw it out you can reuse the salt for another baking experiment.
- Always prepare the cake pan as you would do for an oven, butter, and line the pan well.
- Use medium flame but if you feel your cake is getting too cooked from the outside lower the flame slightly.
- Most important don’t leave the cake and go, keep an eye on it.
Ingredients
Instructions
- Preheat the stove top pan/pot and grease and line a 6’tin.
- Take the hot milk add the cocoa powder, coffee powder, and melted butter, and give it a good mix. Keep aside.
- Now take the fine Orea Cookie crumbs add the baking powder, sugar and milk powder, and the pinch of salt.
- Add the wet into the dry ingredients and mix really well. Add the vanilla now.
- Mix it well till it’s a smooth mixture without lumps.
- Pour the batter into the prepared pan and place it on the trivet in the preheated pot or pan on the stovetop.
- Let it cook undisturbed for 25 to 30 minutes. It will take at least 45 to 50 minutes to cook. Be patient. Poke it with a toothpick in the center to check for doneness. (Please read the blog to understand how to bake in a pot or pan on a stovetop)
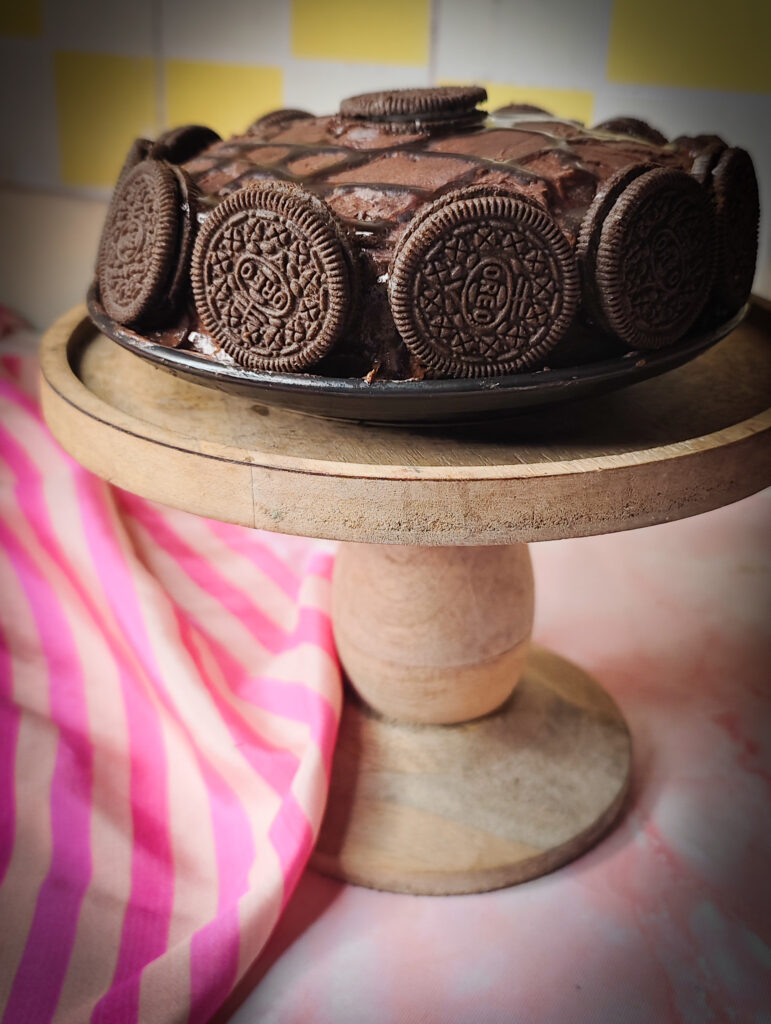
- I have used chocolate butter cream but you could use ganache or just dust it with powdered sugar when the cake cools down. Enjoy!
